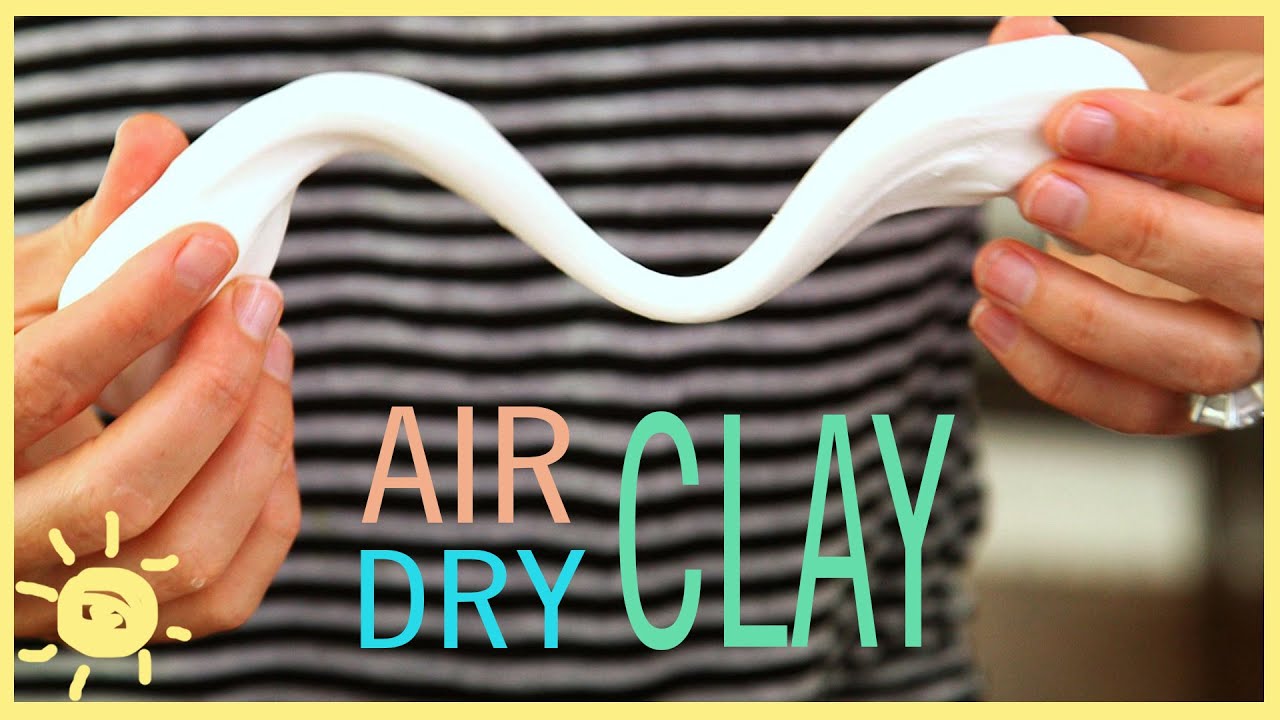
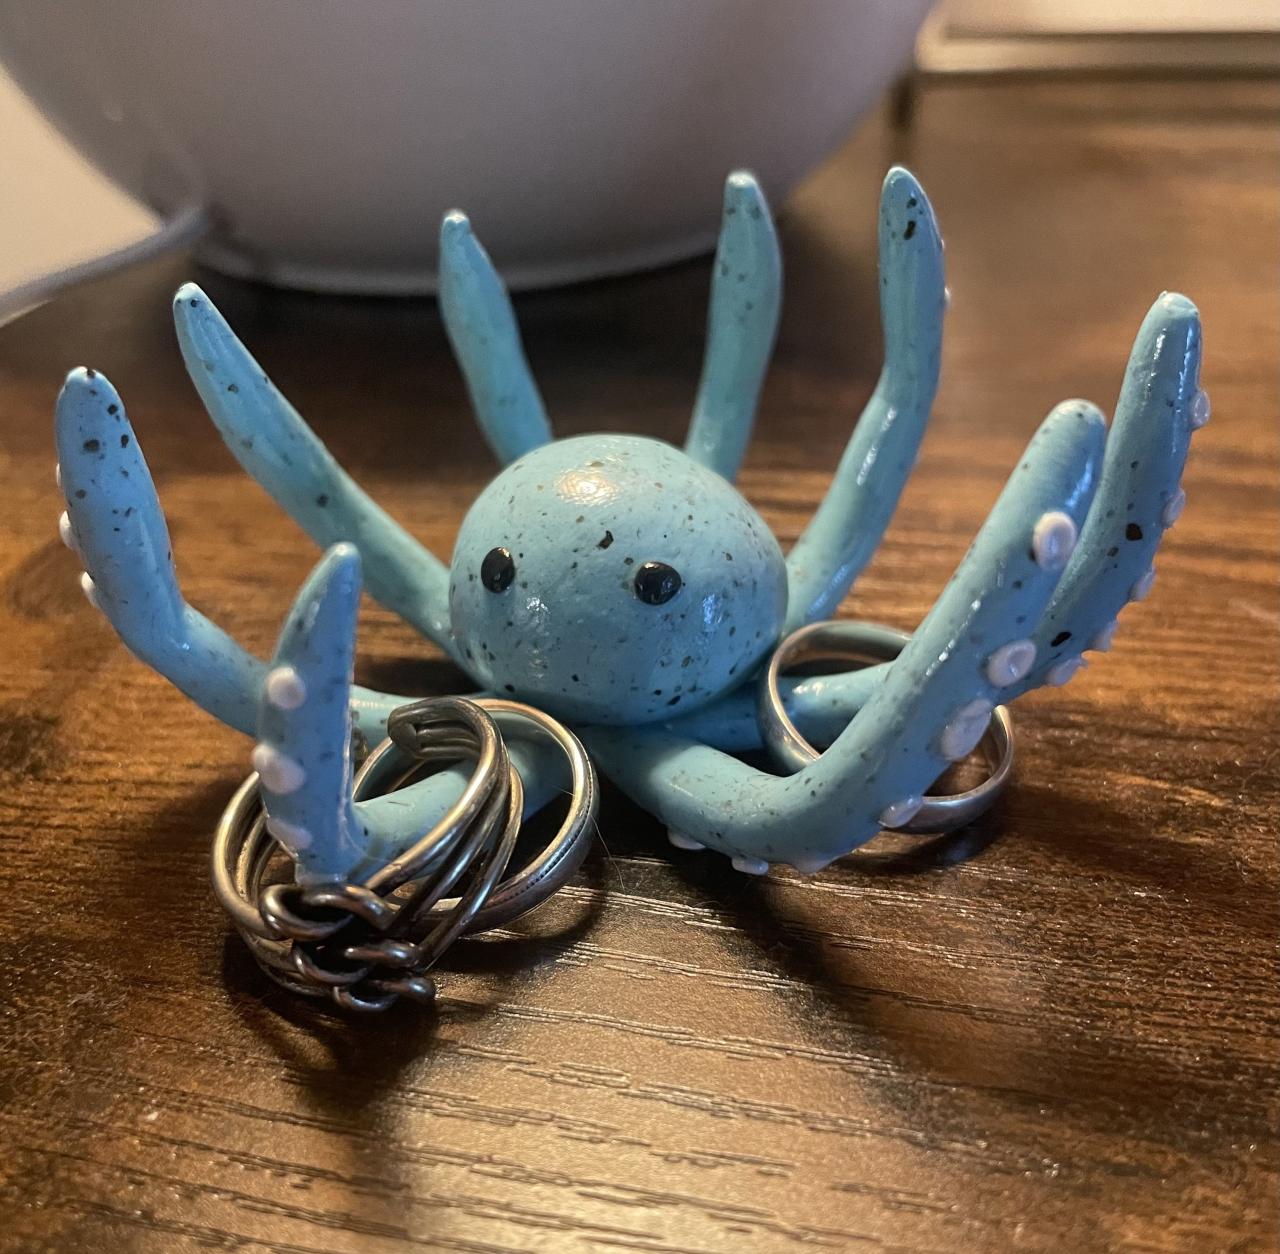
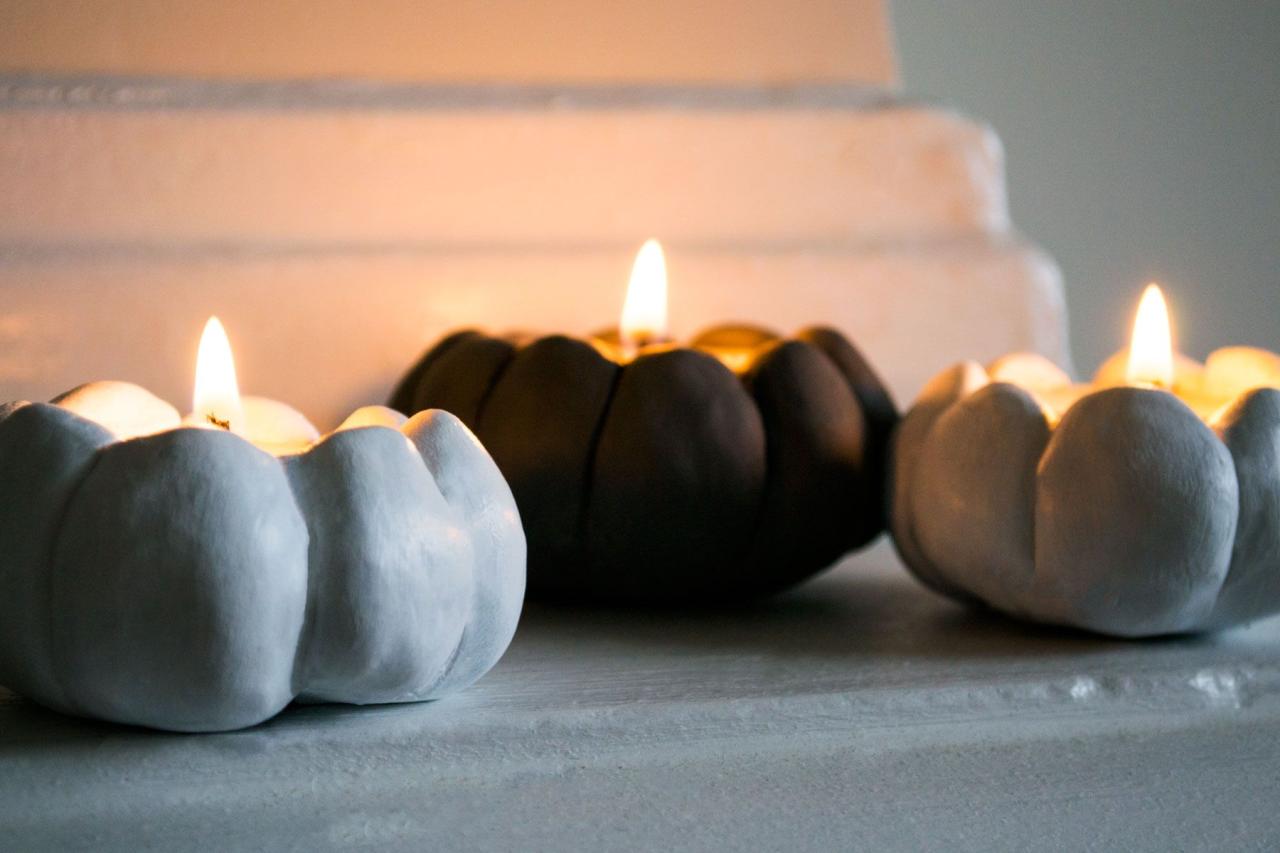
DIY air dry clay opens a world of creative possibilities, allowing you to sculpt, shape, and personalize unique creations. This versatile material, often made with simple household ingredients, provides an accessible and enjoyable crafting experience for both beginners and experienced artists.
From simple ornaments to intricate sculptures, air dry clay offers a canvas for your imagination. The beauty of this medium lies in its ability to transform from a malleable dough into a durable, finished product. This guide will delve into the art of making and working with DIY air dry clay, covering everything from basic recipes to advanced techniques.
Ingredients and Materials

Creating DIY air dry clay is a fun and rewarding experience, and it all starts with the right ingredients. This section will delve into the essential ingredients, their roles, and how they affect the clay’s properties.
Essential Ingredients
The basic ingredients for air dry clay are readily available and inexpensive. These ingredients work together to create a pliable, moldable material that hardens upon drying.
- Flour: The foundation of the clay, providing structure and texture. The type of flour can influence the clay’s texture and drying time. For example, all-purpose flour is a common choice, while using a blend of all-purpose flour and cornstarch can create a smoother clay.
- Salt: Acts as a binder, helping the clay to hold its shape and prevent cracking. Salt also aids in the drying process by absorbing moisture.
- Water: The crucial element that binds the ingredients together, creating a workable consistency. The amount of water added will determine the clay’s texture and moldability.
Additional Ingredients
Beyond the basic ingredients, various additions can enhance the clay’s properties or create specific effects.
- Cornstarch: Contributes to a smoother, more malleable texture and reduces cracking. It also accelerates drying time.
- Vinegar: Acts as a preservative, preventing mold growth and extending the clay’s shelf life.
- Glycerin: Improves the clay’s flexibility and reduces cracking. It also helps the clay retain moisture, resulting in a smoother finish.
- Oil: Adds a touch of lubrication, making the clay easier to work with and preventing it from sticking to your hands.
- Food Coloring: Allows you to personalize your clay with vibrant colors.
Ingredient Combinations and Effects
The combination of ingredients significantly impacts the clay’s properties. Here’s a table showcasing different combinations and their effects:
| Ingredient Combination | Texture | Drying Time | Durability |
|---|---|---|---|
| Flour, Salt, Water | Rough, grainy | Moderate | Moderate |
| Flour, Salt, Water, Cornstarch | Smooth, malleable | Faster | Good |
| Flour, Salt, Water, Glycerin | Flexible, less prone to cracking | Slower | Excellent |
| Flour, Salt, Water, Vinegar | Slightly acidic, longer shelf life | Moderate | Good |
Drying and Finishing

The drying process is crucial for air dry clay projects. Understanding the drying time and optimal conditions ensures your creations dry evenly and prevent cracking. Additionally, finishing techniques like sanding, painting, and varnishing enhance the appearance and durability of your clay creations.
Drying Time and Conditions
Air dry clay typically takes 24 to 72 hours to dry completely, depending on the thickness of the piece, humidity, and temperature. A warm, dry environment with good air circulation is ideal for drying air dry clay. Avoid direct sunlight, as it can cause the clay to dry too quickly and crack.
Methods for Smooth and Even Drying
To ensure smooth and even drying, follow these methods:
- Turn the piece regularly: This helps ensure all sides dry evenly.
- Use a fan: A fan can help circulate air around the piece, speeding up the drying process and preventing cracking.
- Avoid direct heat: Direct heat, like from a radiator or oven, can cause the clay to dry too quickly and crack.
Sanding
Sanding is an essential step for achieving a smooth finish on air dry clay projects. Use fine-grit sandpaper (120-grit or higher) to smooth out any imperfections or rough edges.
Painting
Painting adds color and detail to your clay creations. Acrylic paints are the best choice for air dry clay as they dry quickly and adhere well to the surface.
Varnishing
Varnishing provides a protective coating that seals the clay, enhances its durability, and adds a glossy or matte finish. There are various types of varnishes available, including acrylic, polyurethane, and wax. Choose a varnish that is suitable for the type of clay you used and the desired finish.
Safety and Storage

While DIY air dry clay is generally safe to use, it’s essential to take precautions to ensure a safe and enjoyable crafting experience. Proper handling of ingredients and tools, along with appropriate storage, will help maintain the quality and longevity of your clay.
Safety Precautions
- Handle ingredients with care: Some ingredients, such as PVA glue, can be irritating to the skin. Wear gloves and avoid contact with eyes and mouth. Wash your hands thoroughly after handling ingredients.
- Use tools safely: Sharp tools, such as knives or sculpting tools, should be handled with caution. Always cut away from yourself and store them safely when not in use.
- Work in a well-ventilated area: Some ingredients may release fumes, so it’s advisable to work in a well-ventilated area to avoid inhaling them.
- Keep clay away from children: Young children should be supervised when working with clay, as they may be tempted to put it in their mouths.
Storage Guidelines
- Store clay in an airtight container: This will prevent the clay from drying out and becoming unusable. You can use a plastic container with a lid or a resealable bag.
- Keep clay in a cool, dry place: Avoid storing clay in direct sunlight or in areas with high humidity, as this can affect its consistency and drying time.
- Wrap clay in plastic wrap: If you’re not using all of the clay at once, wrap the remaining portion in plastic wrap to prevent it from drying out.
Maintaining Clay Quality, Diy air dry clay
- Knead clay before use: Kneading the clay for a few minutes before using it will help to make it more pliable and easier to work with.
- Store clay in small batches: It’s easier to manage and prevent drying out if you store clay in smaller batches.
- Avoid overworking clay: Overworking the clay can make it tough and difficult to shape.
Final Thoughts: Diy Air Dry Clay
With DIY air dry clay, you can unleash your creativity and bring your artistic visions to life. The process of creating with this material is both rewarding and empowering, allowing you to craft personalized pieces that reflect your unique style. So, gather your ingredients, unleash your inner artist, and embark on a journey of crafting with DIY air dry clay.
DIY air dry clay is a versatile material that opens up a world of creative possibilities. From sculpting miniature figurines to crafting decorative ornaments, the possibilities are endless. If you’re looking for inspiration, you can find a plethora of DIY craft ideas online, many of which utilize air dry clay as their primary medium.
With a little imagination and some basic tools, you can transform this humble material into unique and personalized creations.


