Easy wall painting is a transformative project that can breathe new life into any space. While it might seem daunting, with the right tools, techniques, and a bit of preparation, even beginners can achieve professional-looking results.
This guide demystifies the process, breaking down each step into manageable chunks. From choosing the right paint and tools to mastering basic techniques, we’ll equip you with the knowledge and confidence to tackle your next wall painting project with ease.
Choosing the Right Paint: Easy Wall Painting
Choosing the right paint is crucial for a successful wall painting project. The type of paint you select will impact the final look, durability, and ease of application. Here’s a guide to help you choose the best paint for your needs.
Types of Paint
Different types of paint are available, each with unique characteristics. Understanding these differences will help you choose the right paint for your specific project.
- Acrylic Paint: Acrylic paint is a popular choice for walls due to its versatility and ease of use. It dries quickly, has a low odor, and is water-based, making cleanup a breeze. Acrylic paint is also durable, washable, and available in a wide range of colors and finishes.
- Latex Paint: Latex paint is similar to acrylic paint, offering excellent durability, washability, and a wide range of colors. However, latex paint tends to have a slightly longer drying time than acrylic paint.
- Oil-Based Paint: Oil-based paint provides a durable, high-gloss finish that is resistant to moisture and stains. It’s a good choice for high-traffic areas or rooms with high humidity. However, oil-based paint has a strong odor, takes longer to dry, and requires mineral spirits for cleanup.
- Eggshell Paint: Eggshell paint offers a soft, low-sheen finish that provides a subtle sheen while still hiding imperfections. It’s a good choice for living rooms, bedrooms, and other areas where a more muted finish is desired.
- Satin Paint: Satin paint has a slightly higher sheen than eggshell paint, offering a more durable and washable finish. It’s a good choice for kitchens, bathrooms, and hallways where durability is important.
- Semi-Gloss Paint: Semi-gloss paint has a higher sheen than satin paint, making it a good choice for trim, doors, and cabinets. It’s also a good choice for areas that require frequent cleaning, as it’s more durable and washable than lower sheen finishes.
- Gloss Paint: Gloss paint has the highest sheen of all paint types, offering a very durable and washable finish. It’s often used for trim, doors, and cabinets in high-traffic areas.
Choosing the Right Color and Sheen
The color and sheen of your paint will impact the overall look and feel of your room. Here are some tips for selecting the right color and sheen for different rooms:
- Living Rooms: Consider using a neutral color with a low sheen, such as eggshell or satin. This will create a relaxing and inviting atmosphere.
- Bedrooms: Choose a calming color with a low sheen, such as eggshell or satin. This will help create a peaceful and restful environment.
- Kitchens: Opt for a durable finish, such as satin or semi-gloss, in a light and bright color. This will help brighten the space and make it easier to clean.
- Bathrooms: Choose a durable finish, such as satin or semi-gloss, in a light and airy color. This will help create a clean and fresh atmosphere.
- Hallways: Use a durable finish, such as satin or semi-gloss, in a neutral color. This will help create a welcoming and cohesive look.
Avoiding Common Mistakes

Painting walls can be a rewarding DIY project, but even seasoned painters can encounter some common pitfalls. This section will equip you with the knowledge and tips to avoid these mistakes and achieve a professional-looking finish.
Preventing Paint Drips
Paint drips are a common problem, especially for beginners. They can ruin your hard work and create a messy look. Here are some tips to prevent paint drips:
- Use the right brush: A high-quality brush with angled bristles is ideal for applying paint smoothly. It allows for better control and reduces the chances of drips.
- Load the brush properly: Dip the brush into the paint only about one-third of the way. This ensures that you don’t overload the brush and cause drips.
- Don’t overload the brush: Tap the brush against the inside of the paint can to remove excess paint. This will help prevent drips and ensure even coverage.
- Paint slowly and carefully: Don’t rush the process. Paint in smooth, even strokes, and avoid using too much pressure.
- Use painter’s tape: Painter’s tape is an essential tool for creating clean lines and preventing paint from bleeding onto other surfaces. Apply it to the edges of the area you want to paint, ensuring it’s pressed down firmly.
- Clean up spills immediately: Spills can quickly become a messy problem. Clean up any spills as soon as they happen to avoid them drying and becoming difficult to remove.
Preventing Uneven Coverage
Uneven paint coverage can be a frustrating problem, resulting in a patchy and unprofessional finish. Here are some ways to avoid this issue:
- Use the right paint: Different paints have different coverage rates. Choose a paint that is specifically designed for the type of surface you are painting. For example, you’ll need a different type of paint for walls than for trim.
- Prepare the surface properly: Before painting, ensure the surface is clean, dry, and free of any debris or loose paint. This will allow the paint to adhere properly and provide even coverage.
- Apply thin coats: It’s better to apply multiple thin coats of paint than one thick coat. This allows the paint to dry evenly and prevents it from becoming lumpy or cracking.
- Use a roller for large areas: Rollers are more efficient than brushes for covering large areas quickly and evenly. Choose a roller with a nap length suitable for the texture of your walls.
- Use a paint extender: Paint extenders can help you stretch your paint further and achieve better coverage. They are available in various formulas, so choose one that is appropriate for your paint and surface.
Preventing Brush Marks
Brush marks can be a common problem, especially when using a brush for large areas. Here are some tips to prevent brush marks:
- Use a high-quality brush: A good brush with soft bristles will leave fewer brush marks. Avoid using cheap brushes, as they can leave streaks and uneven coverage.
- Paint in long, smooth strokes: Avoid using short, choppy strokes, as this can create visible brush marks. Instead, use long, smooth strokes that blend the paint evenly.
- Use a roller for large areas: Rollers are better for covering large areas than brushes. They provide a smoother finish and reduce the risk of brush marks.
- Use a brush extender: A brush extender allows you to reach higher areas without having to climb a ladder. It also helps you paint in longer strokes, reducing the chances of brush marks.
- Clean your brush regularly: A dirty brush can leave streaks and uneven coverage. Clean your brush with water or paint thinner, depending on the type of paint you are using, after each use.
Handling Paint Spills
Accidents happen, and paint spills can be a frustrating problem. Here are some tips for handling paint spills:
- Act quickly: The sooner you clean up a spill, the easier it will be to remove.
- Use a damp cloth or sponge: For wet paint spills, use a damp cloth or sponge to blot up the excess paint. Avoid rubbing, as this can spread the spill.
- Use a paint scraper: For dried paint spills, use a paint scraper to remove the paint from the surface. Be careful not to scratch the surface.
- Use a paint thinner: For stubborn spills, use a paint thinner that is compatible with the type of paint you are using. Apply it to the spill and let it sit for a few minutes before wiping it away with a clean cloth.
- Protect your surfaces: Cover your floors and furniture with drop cloths or plastic sheeting to prevent paint spills from damaging them.
Cleaning Up After Painting, Easy wall painting
Cleaning up after a painting project is an essential part of the process. Here are some tips for cleaning up after painting:
- Clean your brushes and rollers: Clean your brushes and rollers thoroughly with water or paint thinner, depending on the type of paint you are using. This will prevent them from hardening and becoming unusable.
- Remove painter’s tape: Remove the painter’s tape before the paint dries completely. This will prevent the paint from peeling or cracking when you remove the tape.
- Clean up spills and splatters: Clean up any spills or splatters on your floors, furniture, or walls as soon as possible. This will prevent them from drying and becoming difficult to remove.
- Ventilate the room: Open windows and doors to allow fresh air to circulate in the room. This will help the paint dry faster and reduce any fumes.
- Dispose of paint properly: Dispose of leftover paint properly according to local regulations. Some paint can be recycled, while others need to be disposed of in hazardous waste containers.
Creative Wall Painting Ideas

Transforming your walls into a canvas of style and personality is an exciting prospect. With a little creativity and the right techniques, you can create a stunning and unique look for any room in your home.
Wall Painting Techniques
A variety of techniques can be employed to create visually appealing wall designs. These techniques allow you to explore different textures, patterns, and visual effects.
Here is a table showcasing some common wall painting techniques:
| Technique | Description | Example |
|—|—|—|
| Stencils | Using a stencil to create repeating patterns or designs. | Floral patterns, geometric shapes, or animal silhouettes. |
| Masking Tape | Creating clean lines and geometric shapes by using masking tape to section off areas. | Stripes, chevron patterns, or a modern accent wall. |
| Sponges | Applying paint with a sponge to create a textured effect. | A faux-stone finish, a textured accent wall, or a subtle, uneven look. |
| Rag Rolling | Using a rag to apply paint, creating a distressed or aged look. | A vintage farmhouse style or a rustic, weathered effect. |
| Color Washing | Applying thin layers of paint with a glaze, resulting in a translucent and layered effect. | A soft, ethereal look, a subtle ombre effect, or a vintage feel. |
Incorporating Patterns and Textures
Patterns and textures add visual interest and depth to your walls. You can create a cohesive look by incorporating patterns and textures throughout your room or use them to highlight specific areas.
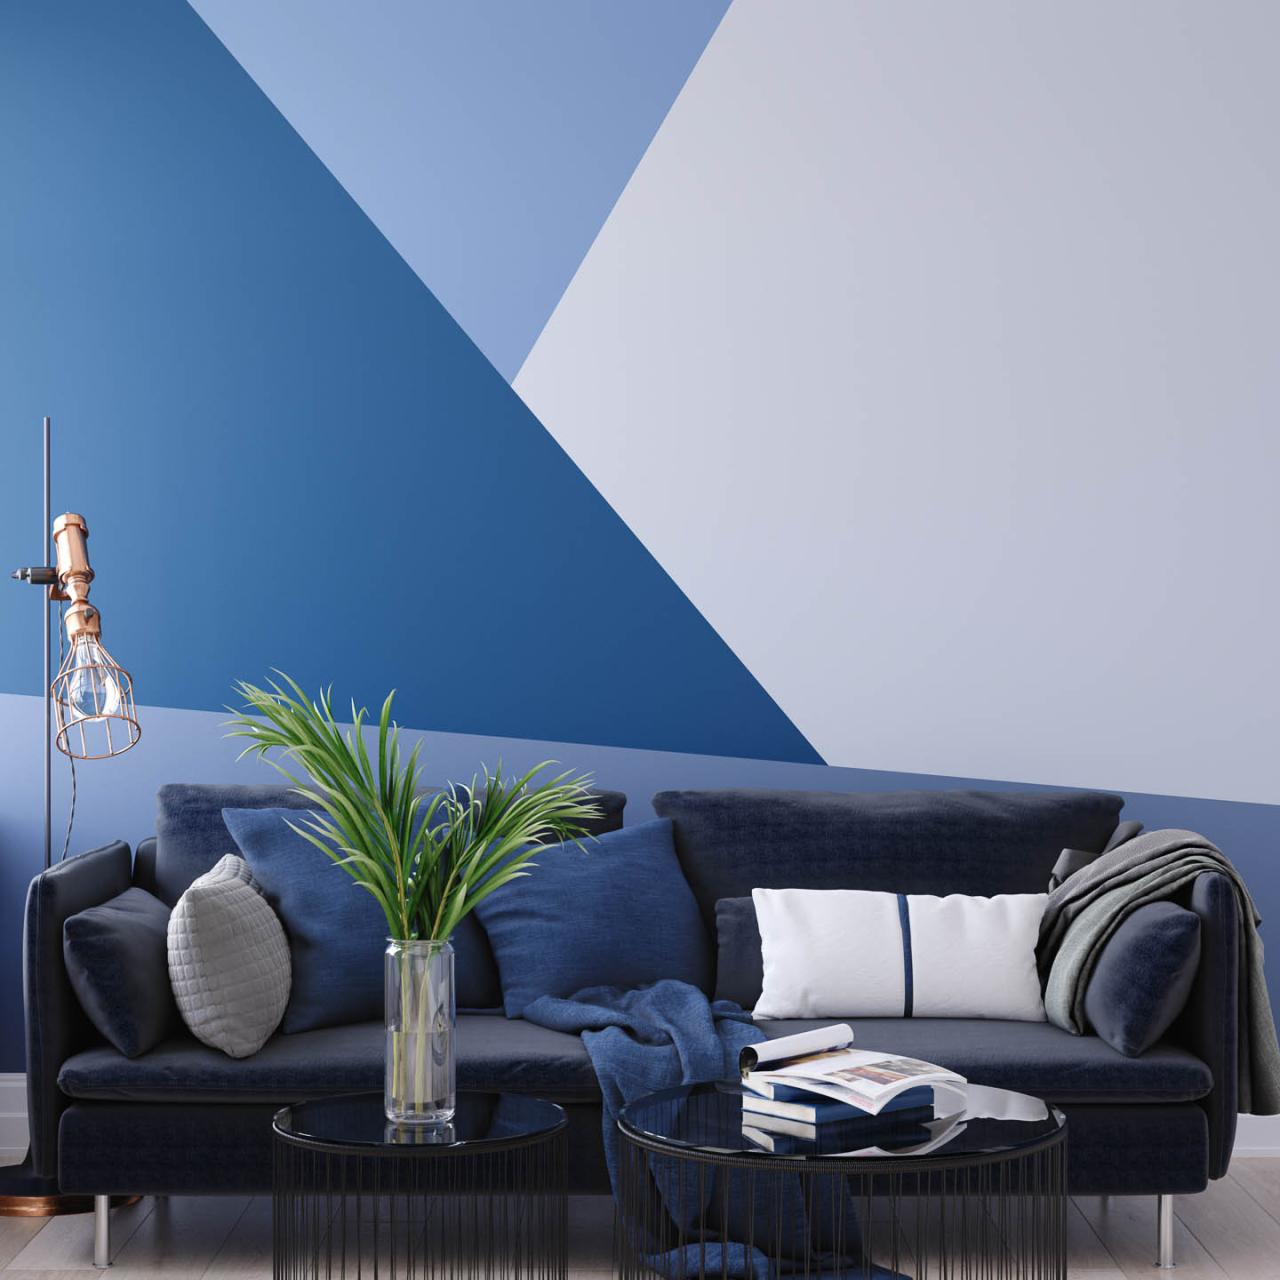
* Geometric Patterns: Geometric patterns, such as stripes, chevrons, or polka dots, offer a clean and modern aesthetic. You can use masking tape to create sharp lines and precise shapes.
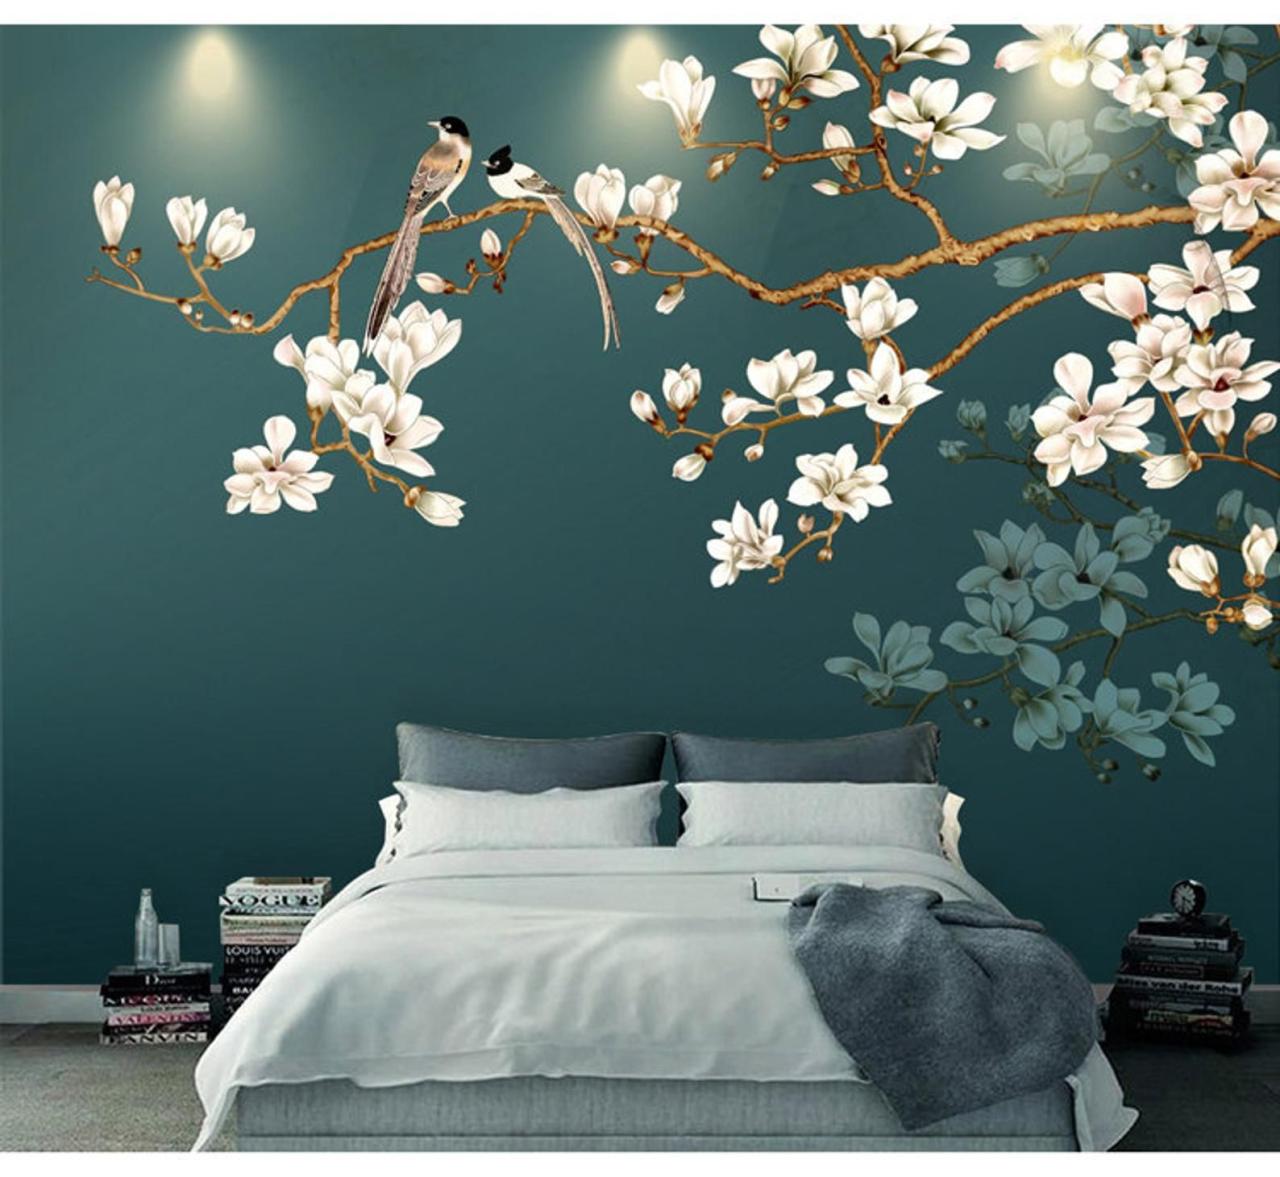
* Floral Patterns: Floral patterns can add a touch of elegance and whimsy to any room. You can use stencils to create repeating patterns or freehand paint for a more organic look.
* Textured Finishes: Textured finishes can create a unique and tactile experience. You can achieve a textured effect by using sponges, rags, or even wallpaper.
* Accent Walls: An accent wall is a great way to add a pop of color or texture to a room. You can paint an accent wall a bold color, create a textured finish, or use a wallpaper with a striking pattern.
Last Word

Transforming your walls with a fresh coat of paint is a rewarding experience. With this guide, you’ve gained the knowledge and confidence to tackle this project with ease. Remember, preparation is key, choosing the right tools and paint is essential, and practicing proper techniques will lead to professional-looking results. So, gather your supplies, choose your colors, and unleash your creativity on your walls!
Painting walls can be a quick and easy way to refresh a room. But for a more intricate look, consider incorporating some woodwork ideas into your design. Adding wooden shelves, moldings, or even a statement wall panel can add depth and dimension to your space.
These elements can also be painted to complement your wall color for a cohesive look.


