DIY clay offers a world of creative possibilities, allowing you to transform simple materials into unique and personalized crafts. From air-dry clay perfect for quick projects to durable polymer clay for intricate sculptures, the versatility of clay opens doors to endless possibilities. Whether you’re a seasoned artist or a curious beginner, this guide will equip you with the knowledge and inspiration to embark on your own clay journey.
This comprehensive guide explores the diverse world of DIY clay, covering everything from choosing the right clay for your project to mastering essential techniques and discovering creative project ideas. We’ll delve into the characteristics of different clay types, provide step-by-step instructions for various projects, and offer valuable tips for achieving professional-looking results. Prepare to unleash your inner artist and discover the magic of crafting with clay!
Essential Tools and Materials
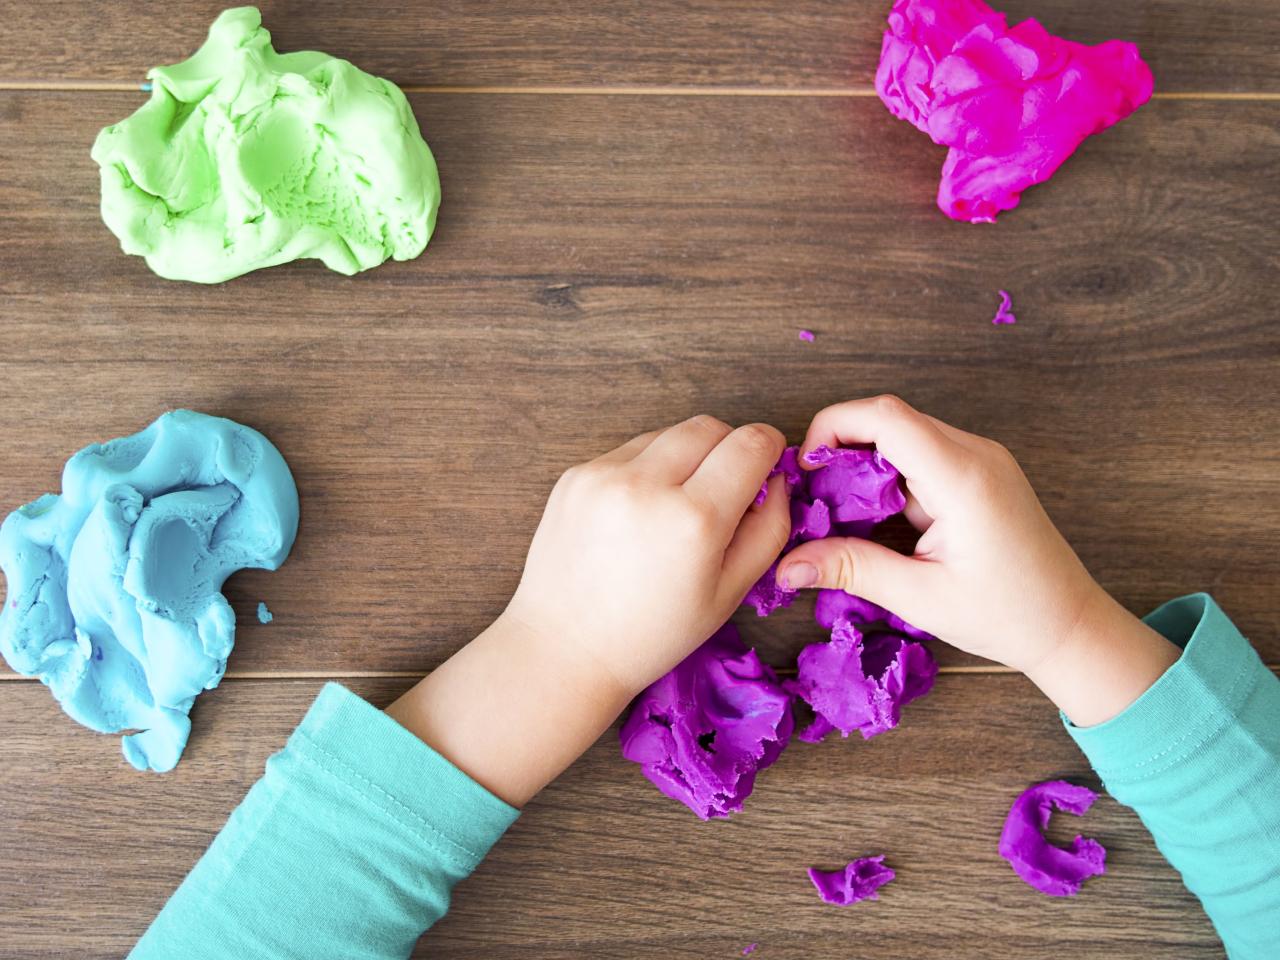
Having the right tools and materials is crucial for successful DIY clay projects. This section will provide a comprehensive list of essential tools and materials, categorized for easy navigation.
Clay Types
Different types of clay are suitable for various projects. Understanding the characteristics of each type will help you choose the best one for your needs.
- Air-dry clay: This type of clay hardens when exposed to air, making it suitable for beginners and quick projects. It’s lightweight and doesn’t require baking.
- Polymer clay: Polymer clay requires baking in an oven to harden. It offers a wide range of colors, textures, and durability, making it ideal for intricate designs and jewelry.
- Ceramic clay: Ceramic clay is a versatile material that requires firing in a kiln to harden. It’s often used for functional pieces like pottery and sculptures.
Modeling Tools
Modeling tools are essential for shaping and manipulating clay. They come in various forms, each designed for a specific purpose.
- Clay tools: These tools are specifically designed for working with clay. They can be made from various materials, including wood, metal, and plastic. Some common clay tools include:
- Sculpting tools: These tools have various shapes and sizes, allowing you to create detailed features and textures. Examples include:
- Ball-shaped tools: Used for smoothing and blending clay.
- Loop tools: Used for removing excess clay and creating lines.
- Serrated tools: Used for creating textures and patterns.
- Modeling tools: These tools are used for shaping and manipulating clay. Examples include:
- Rib tools: Used for smoothing and shaping surfaces.
- Clay cutters: Used for cutting clay into desired shapes.
- Clay rollers: Used for creating even thicknesses of clay.
- Sculpting tools: These tools have various shapes and sizes, allowing you to create detailed features and textures. Examples include:
- General purpose tools: These tools are commonly found in households and can be used for various tasks in clay projects. Examples include:
- Scissors: Used for cutting clay, paper, and fabric.
- Knives: Used for cutting and scoring clay.
- Pliers: Used for holding and manipulating clay.
Baking Equipment
Baking equipment is necessary for polymer clay projects. The type of oven and baking tools will depend on the size and complexity of the project.
- Oven: A standard kitchen oven is sufficient for baking polymer clay. However, a toaster oven can be more convenient for smaller projects. Ensure the oven is clean and preheated to the recommended temperature before baking.
- Baking sheet: A baking sheet lined with parchment paper or a silicone mat is ideal for baking polymer clay. This prevents sticking and allows for easy cleanup.
- Cooling rack: A cooling rack is essential for allowing baked clay to cool down completely before handling. This prevents breakage and ensures the clay sets properly.
Other Essential Materials
- Work surface: A clean, flat surface is essential for working with clay. A table covered with a protective material like plastic or parchment paper is ideal.
- Water: Water is used to soften and smooth clay. A small bowl or spray bottle can be used to apply water to the clay.
- Clay tools cleaner: A clay tools cleaner can be used to remove clay residue from tools. This helps to keep the tools clean and prevents clay from sticking to them.
DIY Clay for Kids
DIY clay is a wonderful activity for kids of all ages, fostering creativity, fine motor skills, and sensory exploration. It’s a simple and adaptable material that allows children to express themselves freely and engage in imaginative play. This section will guide you through creating safe and engaging clay projects for kids, highlighting safety precautions and providing ideas for educational and fun activities.
Age-Appropriate DIY Clay Projects for Kids
This section will present a list of age-appropriate DIY clay projects that are safe and engaging for children. These projects will consider different age groups and skill levels, ensuring that each project is both enjoyable and suitable for their capabilities.
- Toddlers (1-3 years old): Simple shapes and textures are ideal for toddlers. They can explore basic shapes like balls, snakes, and simple animals by rolling and squeezing clay. Supervise them closely to prevent them from putting clay in their mouths.
- Preschoolers (3-5 years old): Preschoolers can start creating more complex shapes and patterns. Encourage them to make animals, fruits, vegetables, or even their own imaginative creations. This is a great time to introduce basic tools like rolling pins and cookie cutters.
- School-Aged Children (6-12 years old): Older children can create more detailed projects, like sculptures, jewelry, or even small figurines. This is a good time to introduce more advanced tools and techniques, such as sculpting tools, stamps, and molds.
Safety Precautions for Working with Clay with Young Children
Safety is paramount when working with clay, especially with young children. These safety precautions will ensure a safe and enjoyable experience for everyone involved.
- Supervise closely: Always supervise young children while they are working with clay, especially toddlers. They might put clay in their mouths or eyes, so constant vigilance is crucial.
- Choose non-toxic clay: Opt for clay that is specifically designed for children and is non-toxic. Avoid using air-dry clay for toddlers as they might be tempted to eat it.
- Wash hands thoroughly: Encourage children to wash their hands thoroughly before and after working with clay. This prevents the spread of germs and ensures cleanliness.
- Keep work area clean: Provide a dedicated workspace for clay activities, and ensure it is cleaned up afterward. This helps prevent accidents and promotes a tidy environment.
Educational and Fun Clay Activities for Kids, Diy clay
Clay offers numerous opportunities for learning and fun. This section will explore educational and fun activities that incorporate clay, promoting creativity and fine motor skills.
- Letter and Number Recognition: Use clay to create letters and numbers, helping children learn their shapes and sounds. This is a hands-on and engaging way to practice pre-reading and math skills.
- Storytelling and Imaginative Play: Encourage children to use clay to create characters and scenes from their favorite stories or to invent their own stories. This promotes creativity, language development, and imaginative thinking.
- Science Experiments: Clay can be used for simple science experiments, such as exploring buoyancy by making clay boats or investigating the properties of different types of clay.
- Nature Exploration: Encourage children to collect natural materials like leaves, twigs, and stones to incorporate into their clay creations. This promotes an appreciation for nature and encourages exploration.
DIY Clay Project Ideas for Home Decor
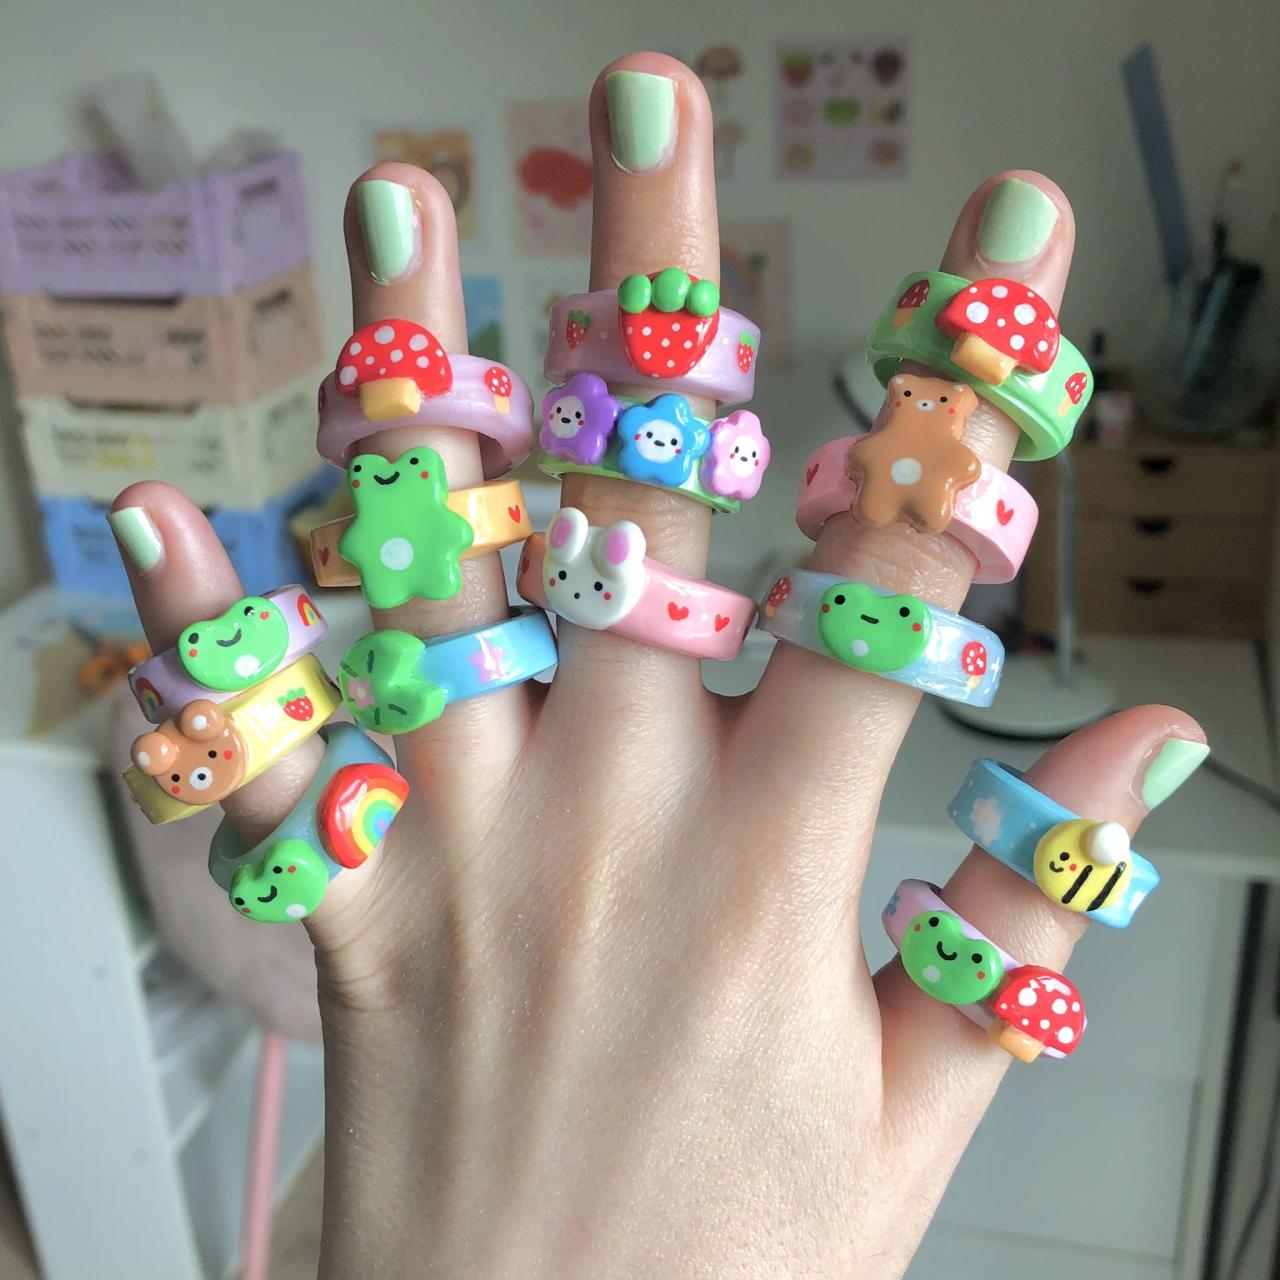
Clay is a versatile material that can be molded into a variety of shapes and sizes, making it perfect for creating unique and personalized home decor. From simple wall hangings to intricate sculptures, the possibilities are endless.
Using Clay to Enhance Home Decor
Clay can be used to add a personal touch and unique character to home interiors in numerous ways. It offers a creative outlet for expressing your personal style and transforming ordinary spaces into captivating havens.
- Wall Hangings: Clay can be used to create eye-catching wall hangings in various shapes, sizes, and designs. You can experiment with different textures and colors to complement your existing wall decor.
- Planters: Clay is an excellent material for crafting planters for indoor or outdoor plants. You can create simple or elaborate designs, adding a touch of nature to your home.
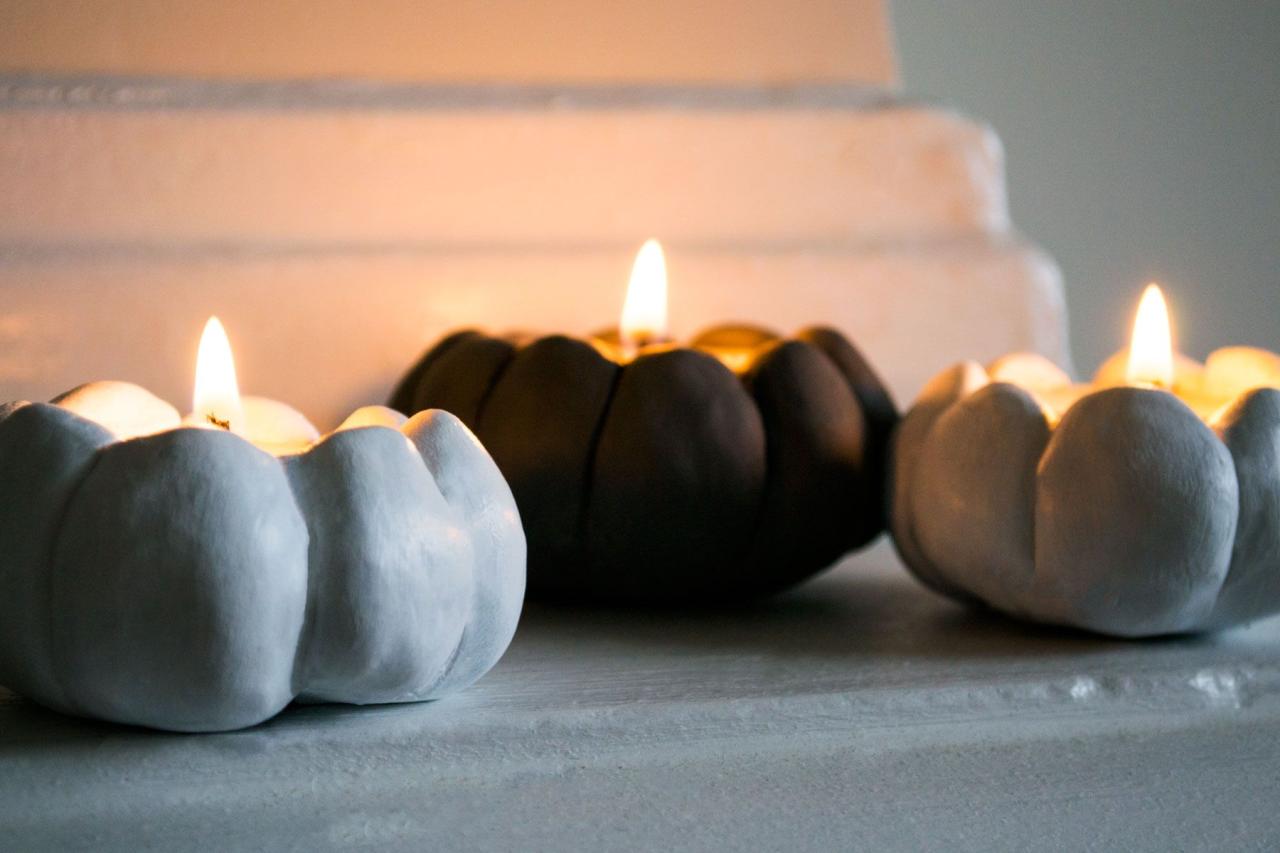
- Decorative Objects: Clay can be used to create a wide range of decorative objects, such as bowls, vases, candle holders, and sculptures. These objects can be used to add visual interest and personality to any room.
Tips for Integrating Clay Projects with Existing Home Decor
To ensure your clay projects seamlessly blend with your existing home decor, consider the following tips:
- Color Palette: Choose clay colors that complement the existing color scheme of your home.
- Style: Consider the overall style of your home decor when designing your clay projects. For example, if your home is decorated in a minimalist style, opt for simple and geometric designs.
- Scale: Pay attention to the scale of your clay projects in relation to the size of your room. Large sculptures may overwhelm a small space, while tiny objects may get lost in a large room.
- Placement: Strategically place your clay projects to enhance the visual appeal of your home. For example, a wall hanging can be placed above a fireplace or a sofa, while a planter can be placed on a shelf or table.
Advanced Techniques and Creative Explorations
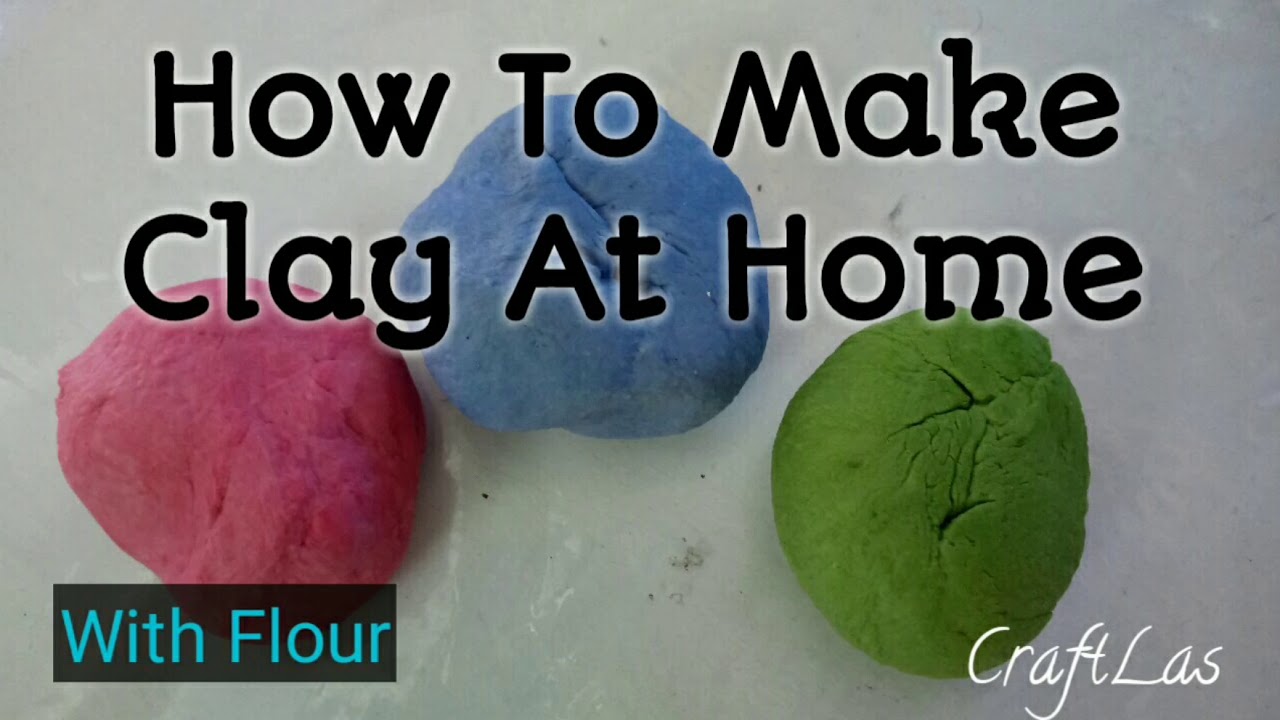
Once you’ve mastered the basics of working with clay, you can explore advanced techniques to elevate your projects and push the boundaries of your creativity. These techniques allow you to create intricate designs, unique textures, and durable, finished pieces.
Mold Making and Casting
Mold making and casting are powerful techniques that allow you to reproduce intricate designs and create multiple copies of your clay creations. Mold making involves creating a negative impression of your desired design, which can then be used to cast new pieces.
- Silicone Mold Making: Silicone rubber is a popular material for mold making due to its flexibility, durability, and ease of use. You can create molds using a two-part silicone rubber kit, following the manufacturer’s instructions. The process typically involves mixing the two parts, pouring the mixture over your clay model, and allowing it to cure. Once cured, you can remove the mold and use it to cast new pieces.
- Plaster Mold Making: Plaster of Paris is another commonly used material for mold making. It is relatively inexpensive and easy to work with, but it can be brittle and prone to cracking. Plaster molds are typically created by pouring plaster over a clay model and allowing it to set. Once hardened, you can remove the mold and use it to cast new pieces.
- Casting Techniques: Once you have a mold, you can use it to cast new pieces. Casting involves pouring liquid clay or other materials into the mold and allowing it to harden. Common casting materials include slip (liquid clay), ceramic slurry, and resin. The specific casting technique you use will depend on the material you are casting and the desired finish.
Glazing
Glazing is a technique used to add a decorative and protective coating to clay pieces. Glazes are typically made from a mixture of powdered minerals, water, and other ingredients. They are applied to the surface of the clay piece and then fired in a kiln to fuse them to the surface.
- Glaze Types: There are many different types of glazes, each with its own unique properties and characteristics. Some common glaze types include:
- Matte glazes: These glazes produce a non-reflective, dull finish.
- Gloss glazes: These glazes produce a shiny, reflective finish.
- Crackle glazes: These glazes create a network of fine cracks on the surface of the clay piece.
- Crystal glazes: These glazes contain crystals that form during the firing process, creating a unique and decorative effect.
- Glaze Application: Glazes can be applied to clay pieces using a variety of techniques, including dipping, brushing, and spraying. The method you choose will depend on the desired finish and the complexity of the design.
- Glaze Firing: Once the glaze has been applied, the clay piece must be fired in a kiln to fuse the glaze to the surface. The firing temperature will vary depending on the type of glaze and the clay body.
Exploring Different Materials and Techniques
Experimenting with different materials and techniques is a key aspect of pushing the boundaries of clay art. You can try incorporating other materials into your clay projects, such as:
- Metal: Combine clay with metal elements for a unique and modern look. You can use wire, sheet metal, or metal accents to create interesting textures and patterns.
- Wood: Incorporate wood elements into your clay projects for a natural and earthy feel. You can use wood for bases, handles, or decorative accents.
- Fabric: Use fabric to create textures and patterns on your clay pieces. You can press fabric into the clay, or use it to create molds.
Complex and Innovative DIY Clay Projects
- Sculptural Wall Art: Create a dynamic and eye-catching piece of wall art by using clay to sculpt abstract shapes or figurative forms. You can use mold making and casting techniques to create multiple pieces for a cohesive installation.
- Clay Jewelry: Use clay to create unique and personalized jewelry pieces. You can experiment with different shapes, colors, and textures to create earrings, necklaces, bracelets, and rings.
- Functional Clayware: Challenge yourself to create functional clay pieces, such as mugs, bowls, and plates. Use glazing techniques to add a decorative touch and make your pieces food-safe.
Conclusive Thoughts: Diy Clay
With a little creativity and the right tools, DIY clay can transform into a world of possibilities. From simple ornaments to intricate sculptures, the journey of crafting with clay is a rewarding experience that fosters creativity and brings joy to every project. Whether you’re creating personalized gifts, enhancing your home decor, or exploring advanced techniques, the world of DIY clay is brimming with endless possibilities. So, gather your materials, unleash your imagination, and let your clay journey begin!
DIY clay is a versatile material that can be used to create all sorts of whimsical creations. If you’re looking for a fun and easy project, try building a miniature fairy house, like the ones featured on this website: diy fairy house.
You can use clay to mold the walls, roof, and even tiny furniture for your fairy home. Once you’ve mastered the basics of clay sculpting, the possibilities are endless!

